Installation Guide for PPRC Pipes: Step-By-Step Instructions for a Leak-Free Plumbing System
- Adamjee DuraBuilt
- Jul 10, 2023
- 2 min read

Updated: Jul 15, 2023

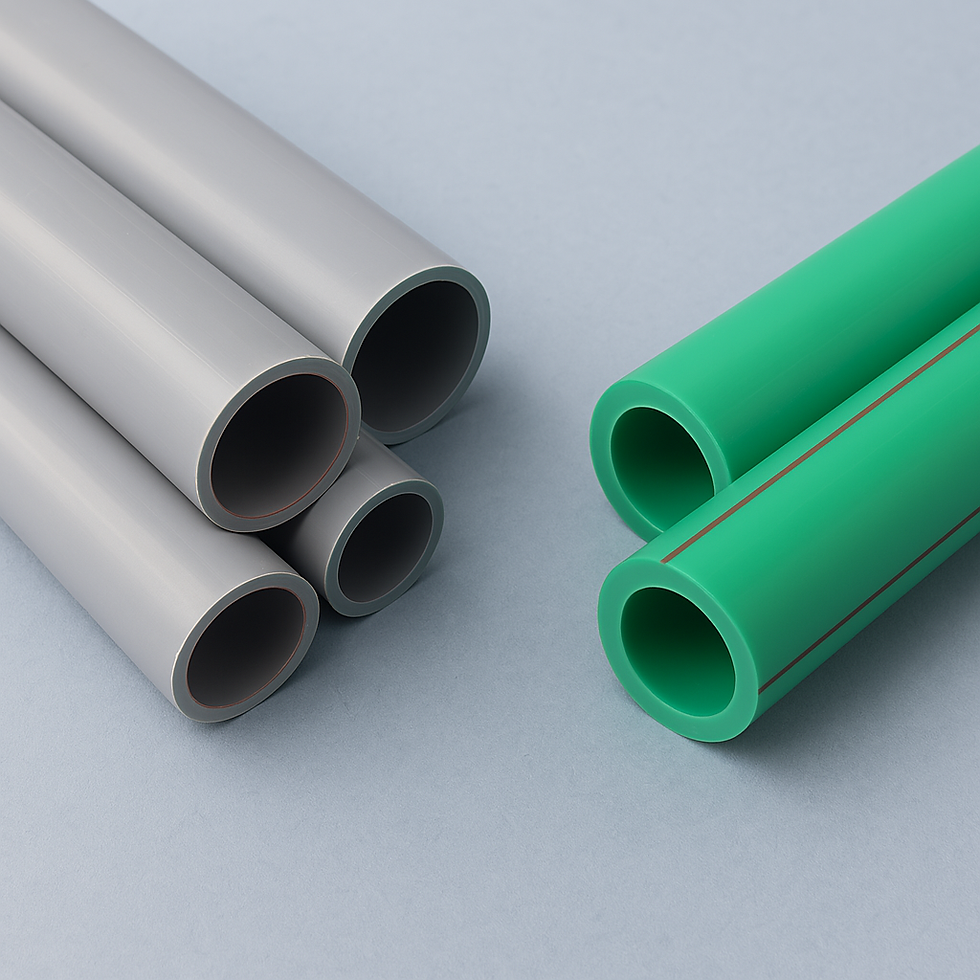
PPRC pipes (Polypropylene Random Copolymer pipes) have acquired appeal in the plumbing business, Because of their durability, chemical resistance, and simplicity of installation. Proper installation is critical for maintaining a long-lasting, leak-free plumbing system. We will present a full installation guide for PPRC pipes in this post, giving step-by-step directions to help you obtain a dependable and efficient plumbing system.
Step 1: Gather the Required Materials and Tools
Check that you have all of the essential supplies and tools before beginning the installation procedure. PPRC pipes, PPRC fittings (elbows, couplings, tees, etc.), a pipe cutter, chamfering tool, deburring tool, a heating iron, a marking pen, and a measuring tape are often included.
Step 2: Plan and Measure
A careful design and precise measurements are required for a successful PPRC pipe installation. Determine the configuration of the plumbing system and the necessary lengths of PPRC pipes. Using a marking pen, mark the cutting spots on the pipes to ensure exact measurements.
Step 3: Cut the Pipes
Carefully cut the PPRC pipes along the designated lines with a pipe cutter. To guarantee appropriate fitting connections, later on, make clean and square cuts.
Step 4: Chamfer and Deburr the Pipe Ends
Bevel the outside edges of the pipe ends using a chamfering tool to guarantee smooth and precise fitting insertion. This helps to protect the O-rings and guarantees a tight, leak-free connection. Remove any burrs or rough edges from the cut ends of the pipes with a deburring tool.
Step 5: Prepare the Fittings
Similarly, chamfer and deburr the inside edges of the PPRC fittings to allow for easier pipe installation. Smooth edges ensure a tight fit and avoid leakage.
Step 6: Heat the Pipes and Fittings
Heat both the end of the PPRC pipe and the insertion section of the fitting with a hot iron at the same time. The heating time will vary based on the size of the pipe and fitting, therefore follow the manufacturer's instructions. Heating softens the plastic, making it easier to install fittings.
Step 7: Join the Pipes and Fittings
Once the pipe and fitting have attained the proper temperature, put the pipe rapidly and firmly into the fitting. During insertion, rotate the pipe slightly to ensure uniform dispersion of the melted material, resulting in a secure and leak-free junction. Allow a few seconds for the pipe to settle.
Step 8: Repeat the Process
Continue heating, connecting, and fastening the pipes and fittings until the complete plumbing system is linked. Maintain proper alignment and avoid using too much force or twisting, since this might cause joint injury.
Step 9: Pressure Test and Inspect
After the installation is complete, it is critical to run a pressure test to confirm the plumbing system's integrity. Close all outlets and turn on the water pressure. Keep an eye out for any symptoms of leaks or weak joints. Before proceeding, make any required changes or repairs.
Conclusion
A leak-free plumbing system with PPRC pipes requires proper installation. You can assure exact measurements, clean cuts, secure fittings, and tight connections by following this step-by-step guide, resulting in a durable and efficient plumbing infrastructure. PPRC pipes provide numerous advantages, such as durability and chemical resistance, making them an excellent choice for both residential and commercial plumbing systems.


Comments